
Creating a Hyper-V VM from VHDX Disks
To run Gateway in a Hyper-V environment, you must first verify that the Windows host has met the Hyper-V system hardware requirements, and then enable the Hyper-V feature:
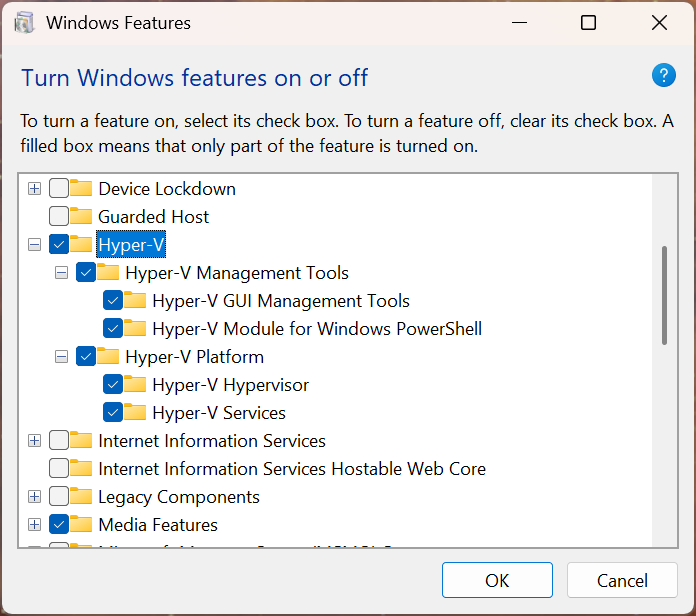
Windows Features
The Gateway VM for Hyper-V is available as one pair of VHDX disks, supporting BIOS boot, which can be used to create a Generation 1 VM:
Main disk:
gateway-<version>_<build number>_<tag>.vhdxAsset storage disk:
gateway-<version>_<build number>_<tag>-1.vhdx

Note
The following setup examples are based on the Hyper-V version for Windows 10 Enterprise.
Setting Up a VM
In the Hyper-V Manager, click New->Virtual Machine to open the New Virtual Machine Wizard:
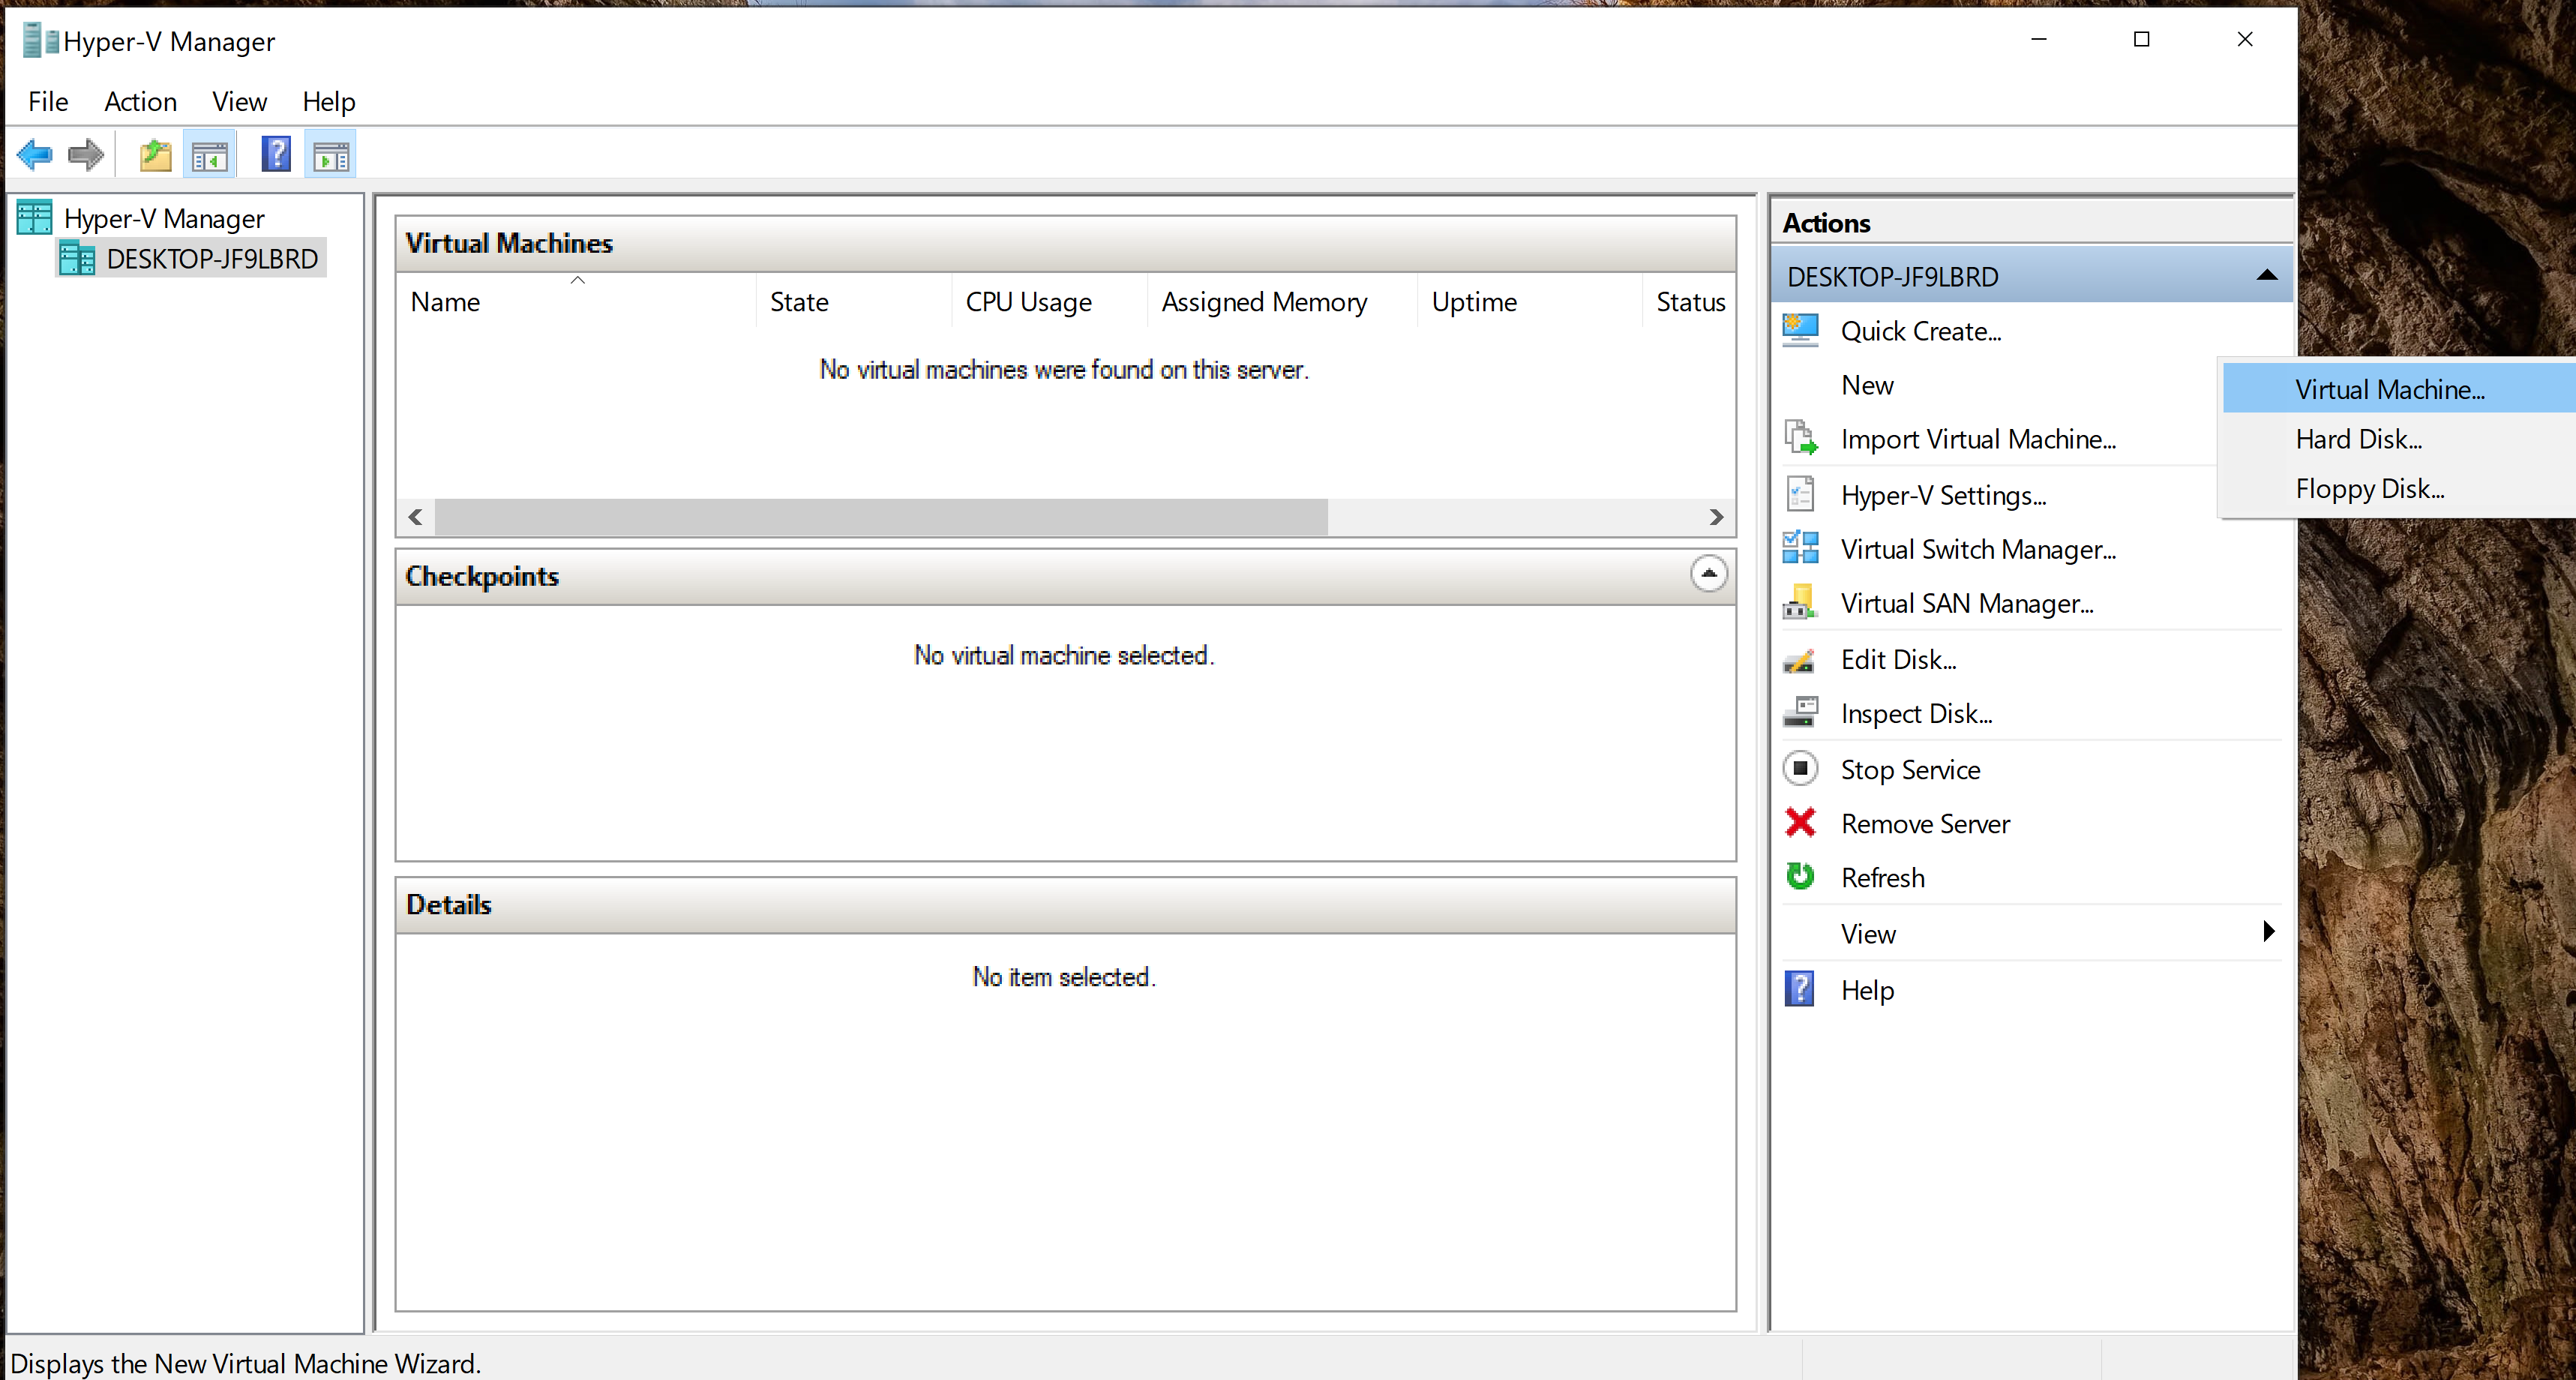
New VM
Click Next:
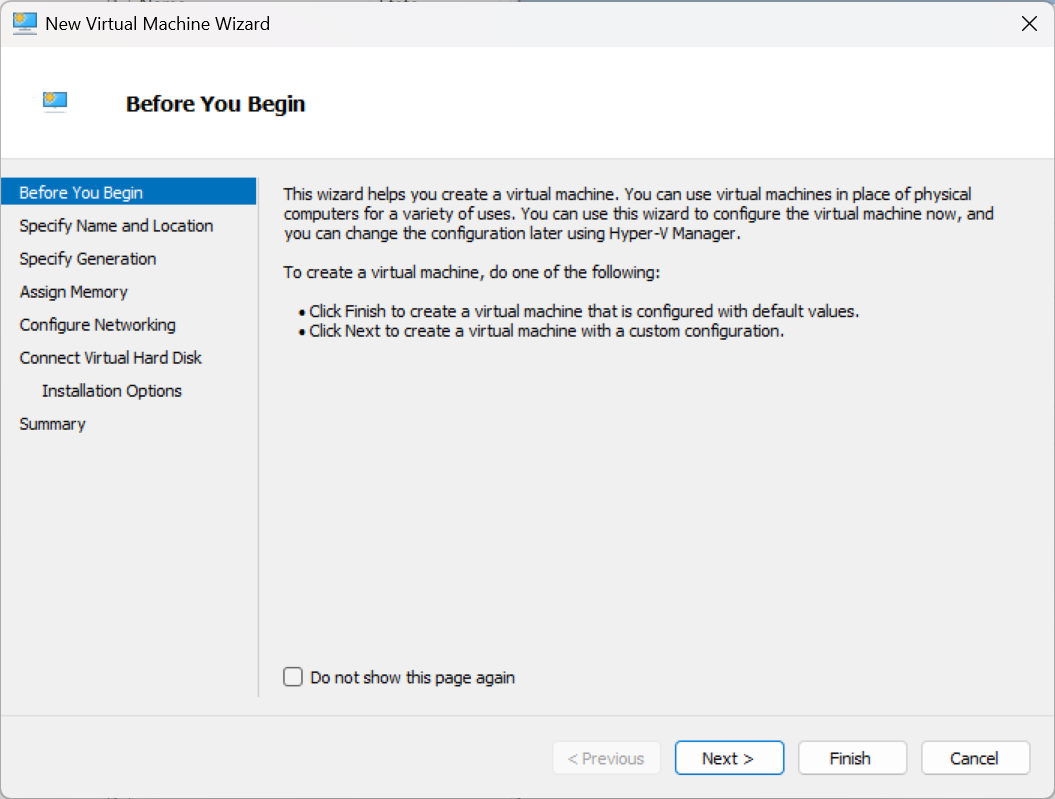
Before you Begin
Specify a Name and physical disk Location, and then click Next:
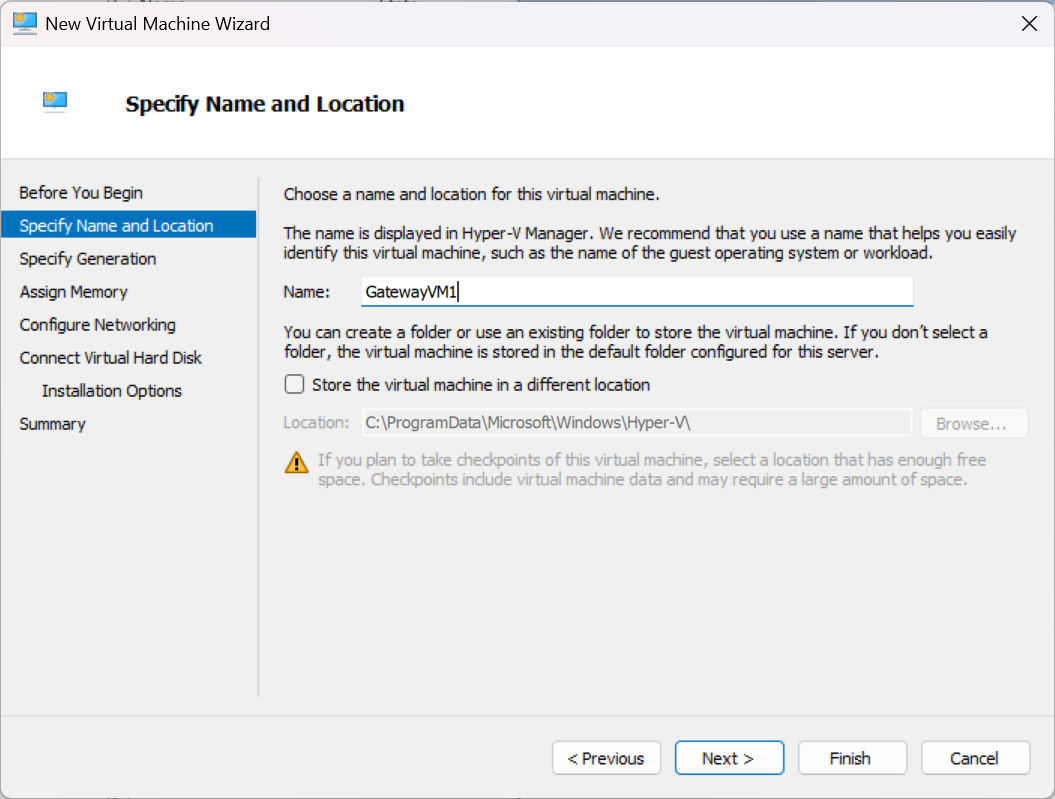
Specify Name
Choose Generation 1, and then click Next:
Select Generation
Assign Memory, and then click Next:
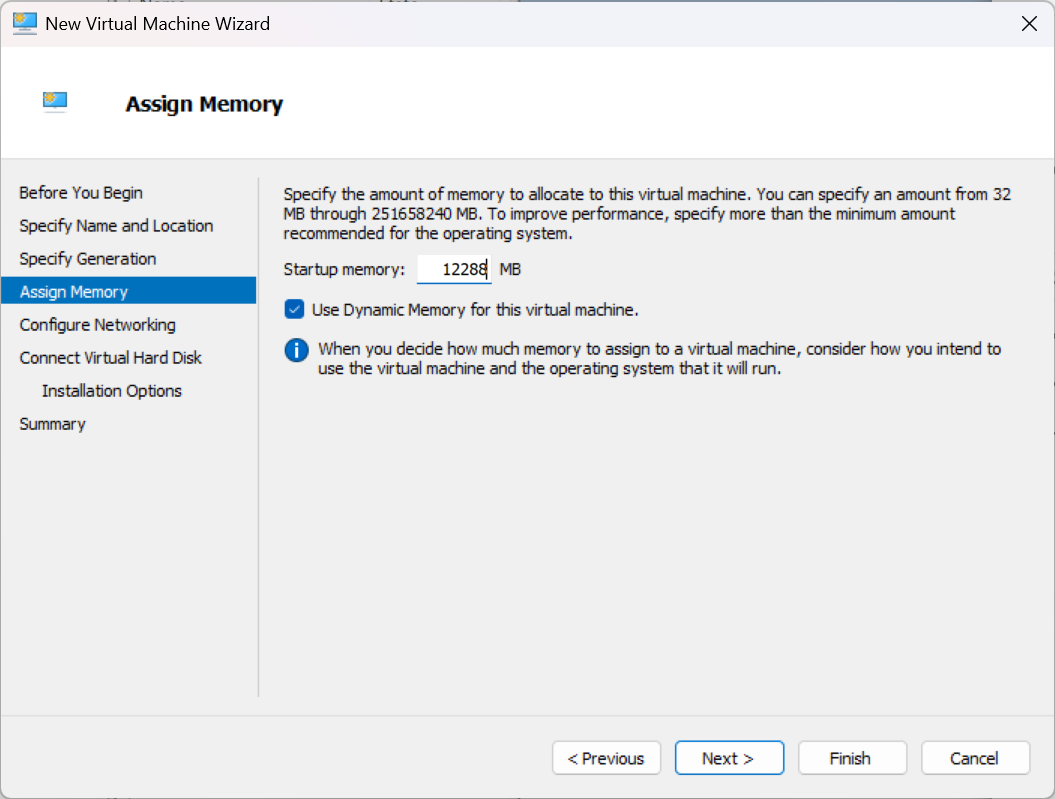
Assign Memory

Important
Reserve sufficient virtual resources (CPU, RAM, NIC, and HD) to avoid adverse effects to system performance. For improved performance, configure your VM with more CPU cores and a larger memory.
Minimum VM specifications:
4 CPU cores, 4 GB memory, 185GB storage on disk 1, 10GB storage on disk2.
Be aware that the default virtual assets disk size is only 10GB.
Contact Haivision Technical Support before attempting to resize or replace the virtual disk, as this requires access to the Gateway command line interface (to configure the virtual disk devices, LVM, file system, and OS).
Under Configure Networking, select an external virtual switch, and then click Next:
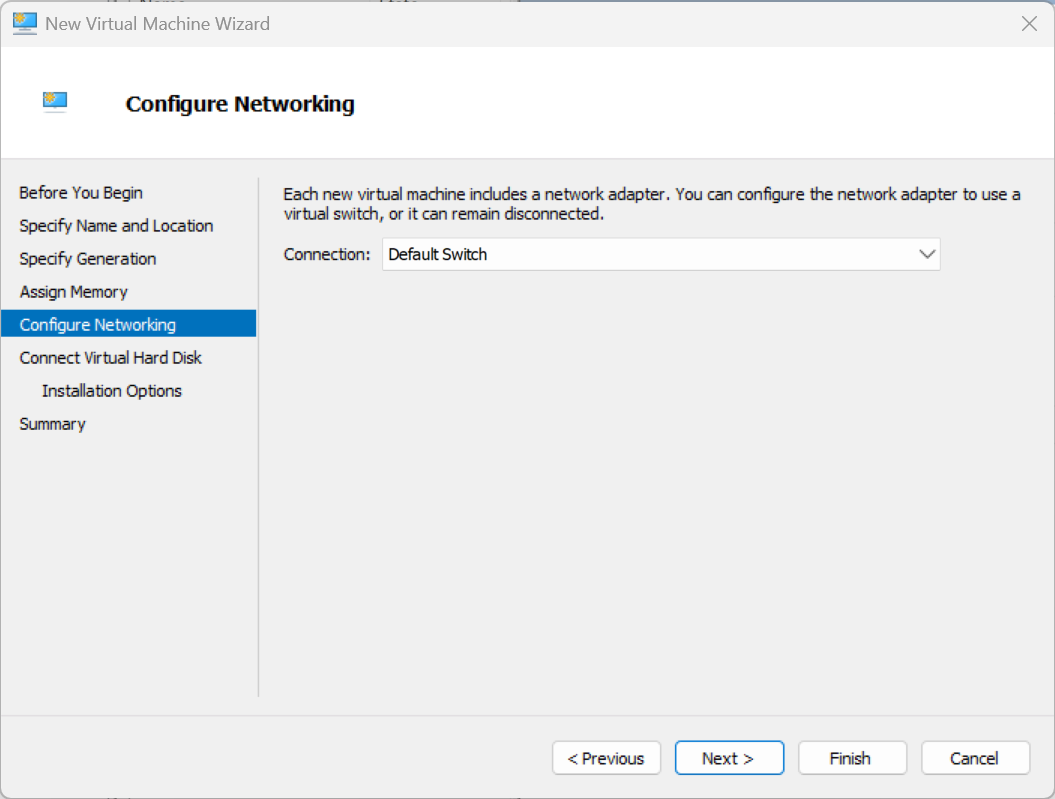
Configure Networking
Under Connect Virtual Hard Disk, add the primary Gateway VHDX disk (BIOS version) by choosing Use an existing virtual hard disk and then clicking Browse to locate the primary .vhdx file (
gateway-<version>_<build number>_<tag>.vhdx). When done, click Next: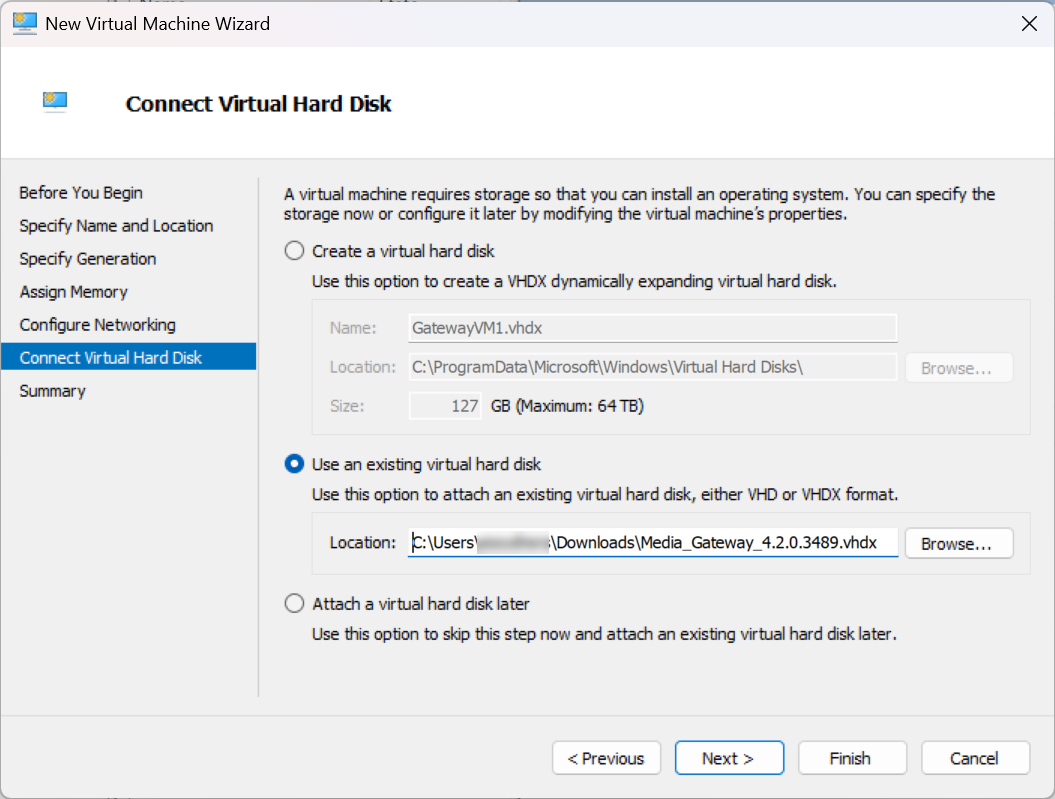
Use Virtual Hard Disk
Review the Summary, and then click Finish:
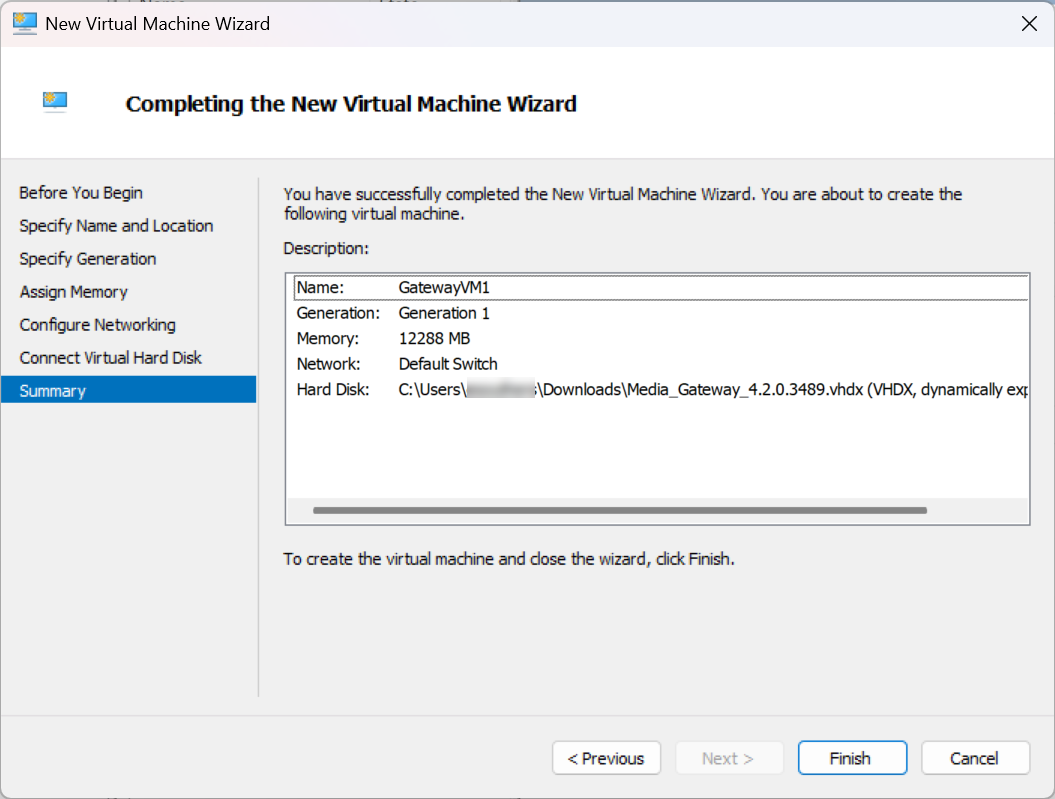
Summary
After the Gateway VM is created, click Settings:
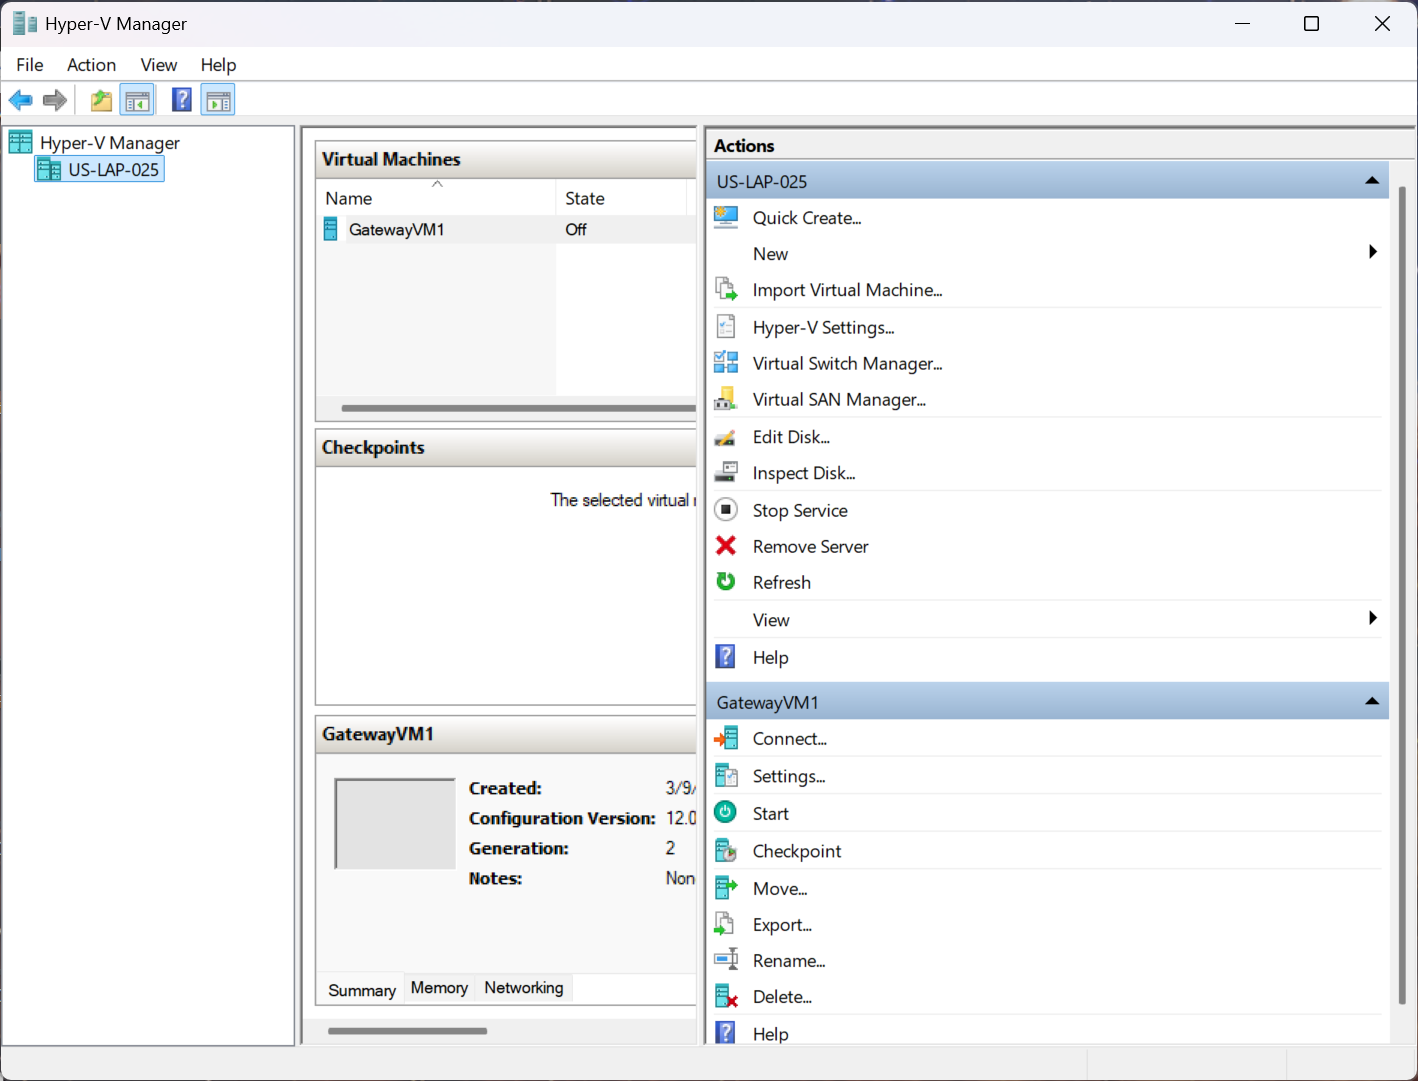
Click Settings
Select an IDE Controller (the default for Generation 1). Click Add to add an additional Hard Drive (this will be Gateway’s secondary BIOS VHDX disk):
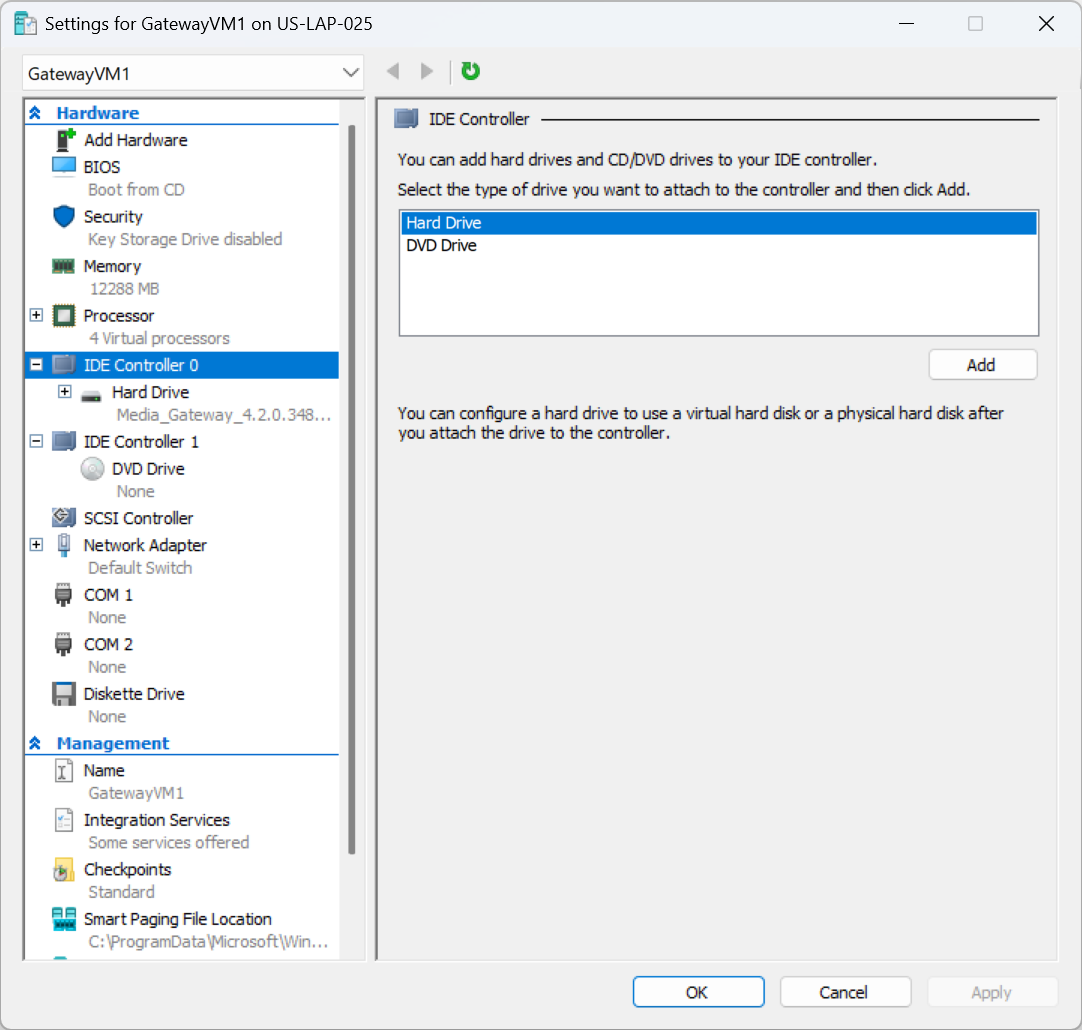
IDE Controller
Click Browse to locate the secondary .vhdx file (
gateway-<version>_<build number>_<tag-1>.vhdx). When done, click OK.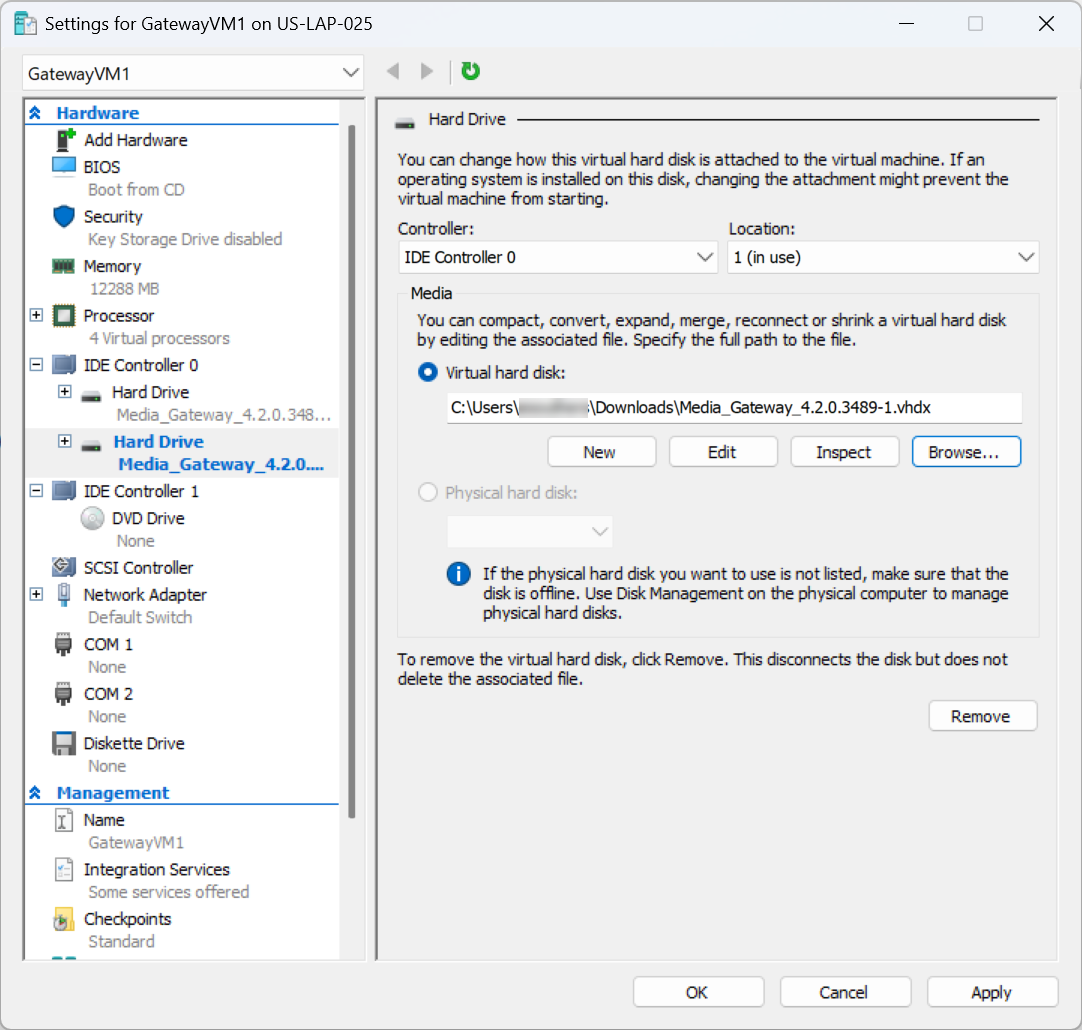
Secondary Virtual Hard Disk
In the Hyper-V Manager, under the list of actions for the VM click Start to boot up the Gateway VM instance:
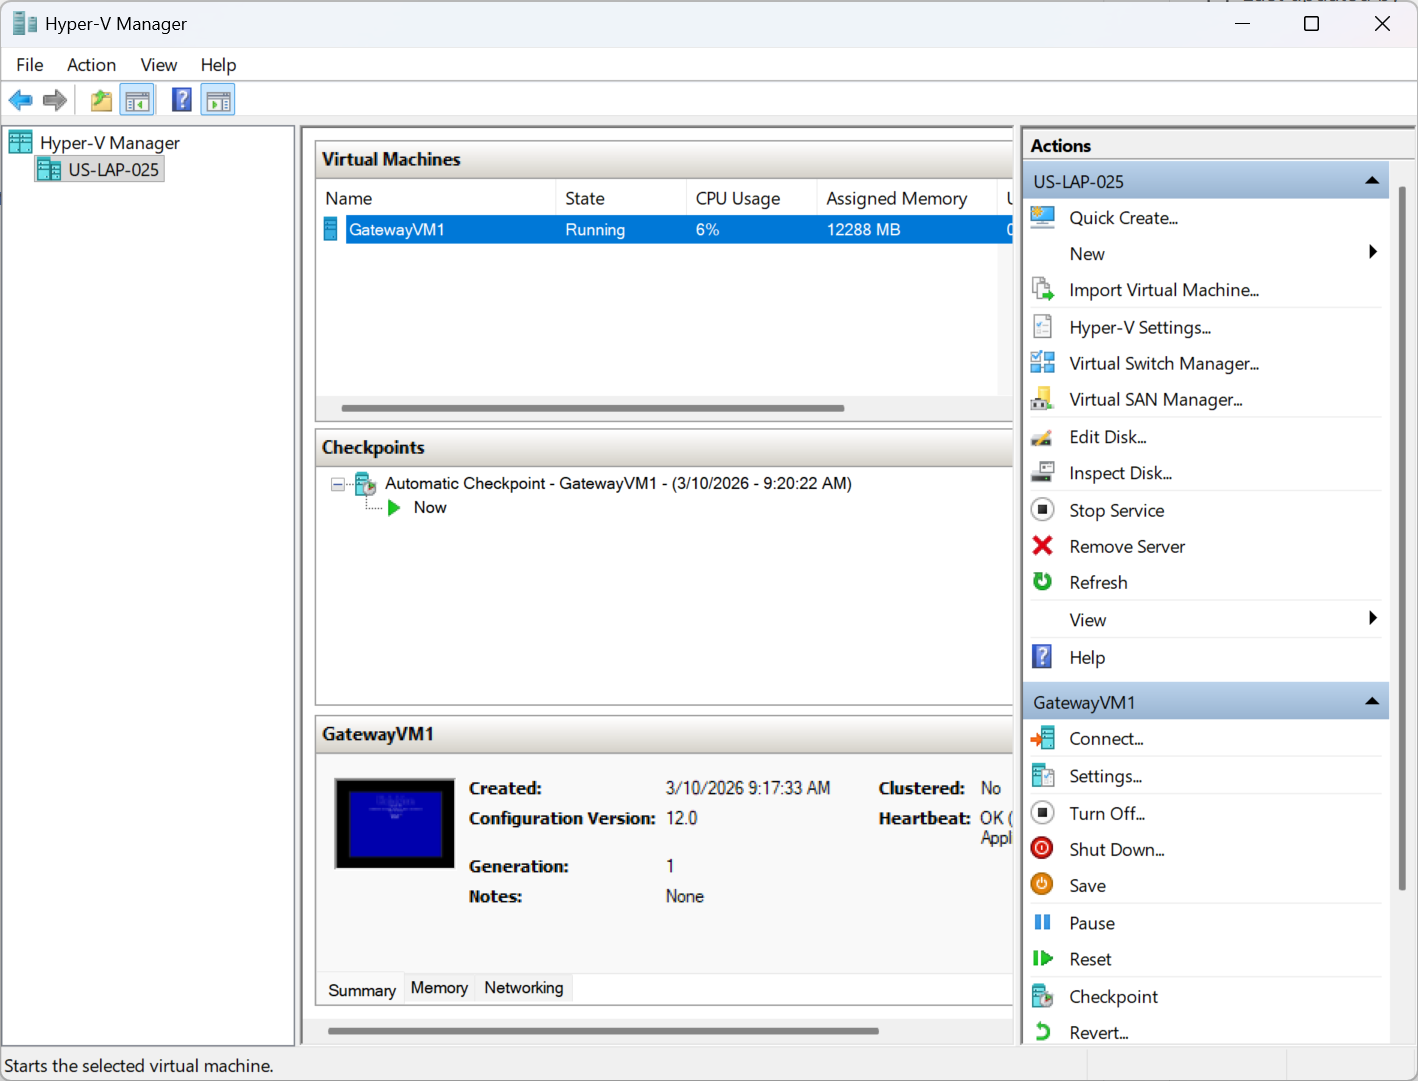
VM Running
Note
Haivision VM images use two disks: Disk 1 is thin-provisioned and set up to grow up to 185GB; Disk 2 is thin-provisioned up to 10GB and should be replaced by your organization's preferred asset storage, NFS mount, or VM storage disk.
Double-click the VM’s console icon to bring up the console UI (Gateway CUI) in a new window:
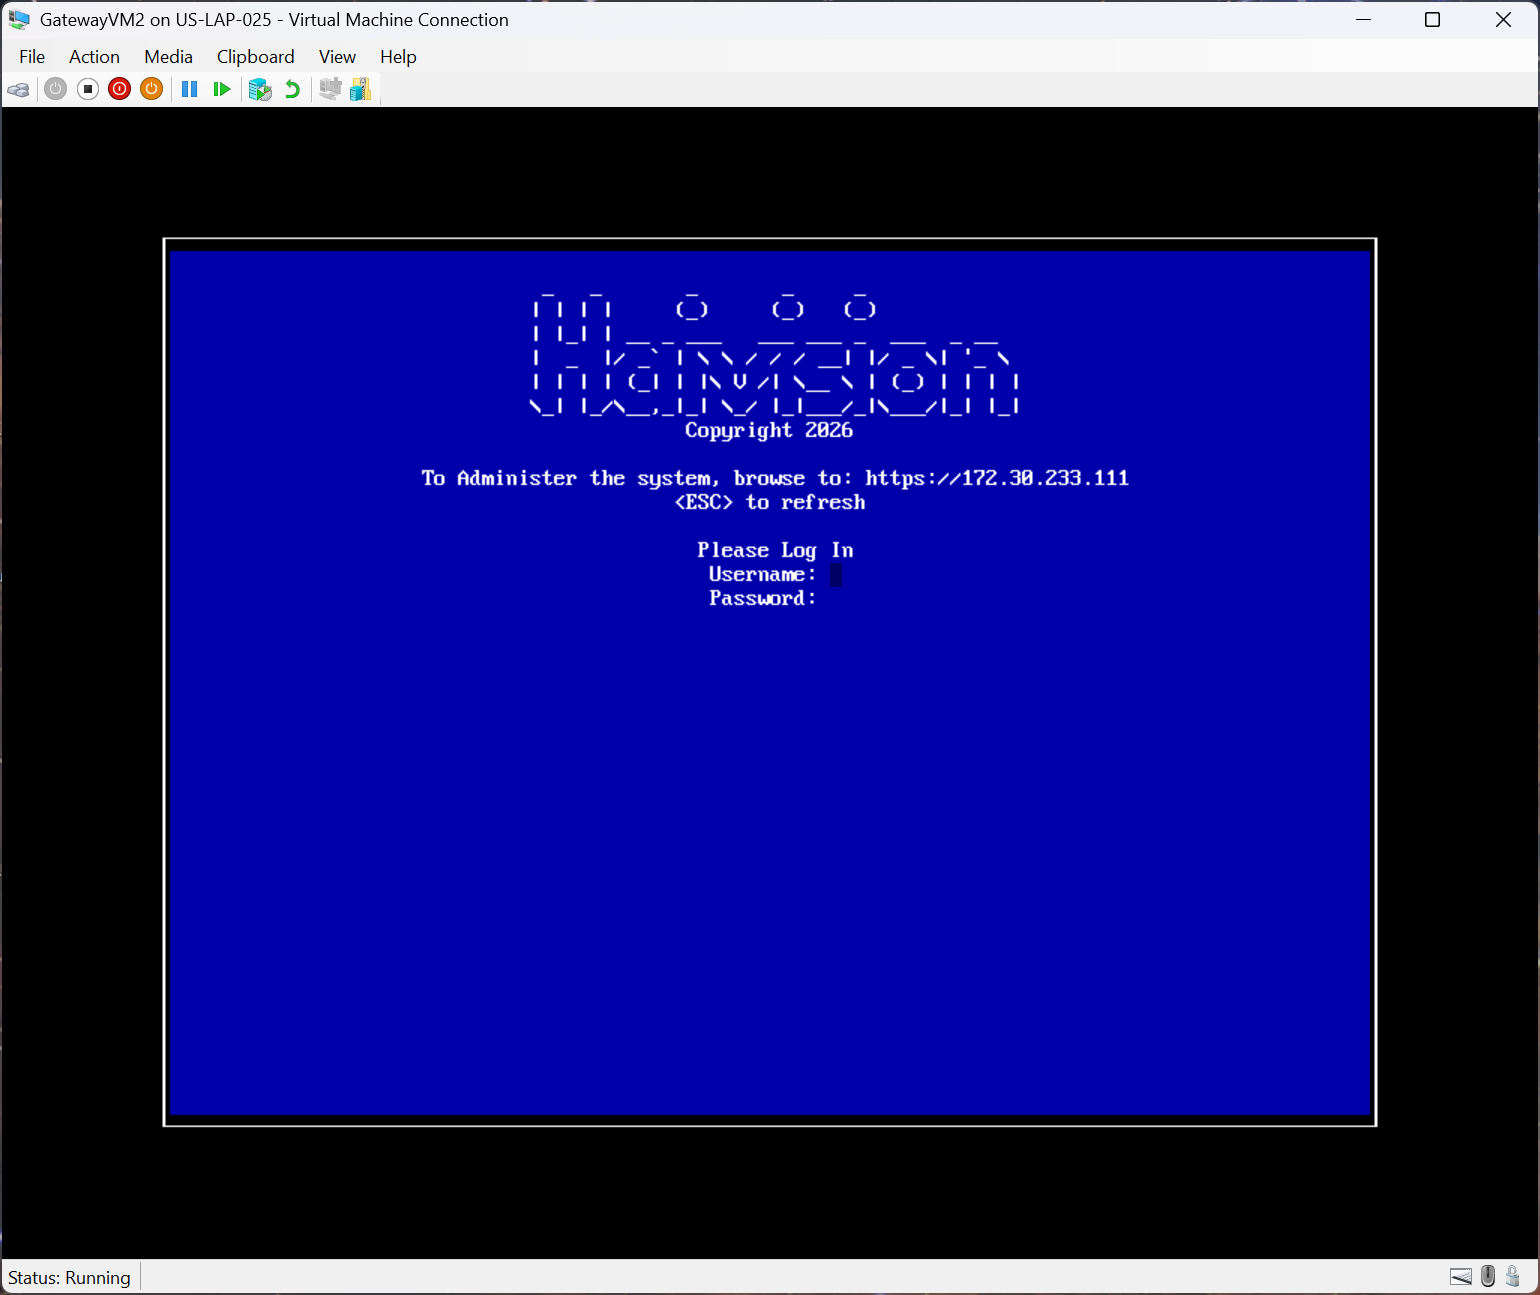
Console UI Window
Hyper-V Integration Services — Time Management
The following are some important considerations regarding the Hyper-V guest Gateway VM’s time management:
Gateway uses chronyd / NTP to do primary time management. It takes precedence over Hyper-V host - guest time sync.
If there is no NTP source provided (in NTP manual mode) or detected (in NTP auto mode), then the Hyper-V host-to-guest time sync will take effect.
Time Synchronization on the VM’s settings must always be enabled:
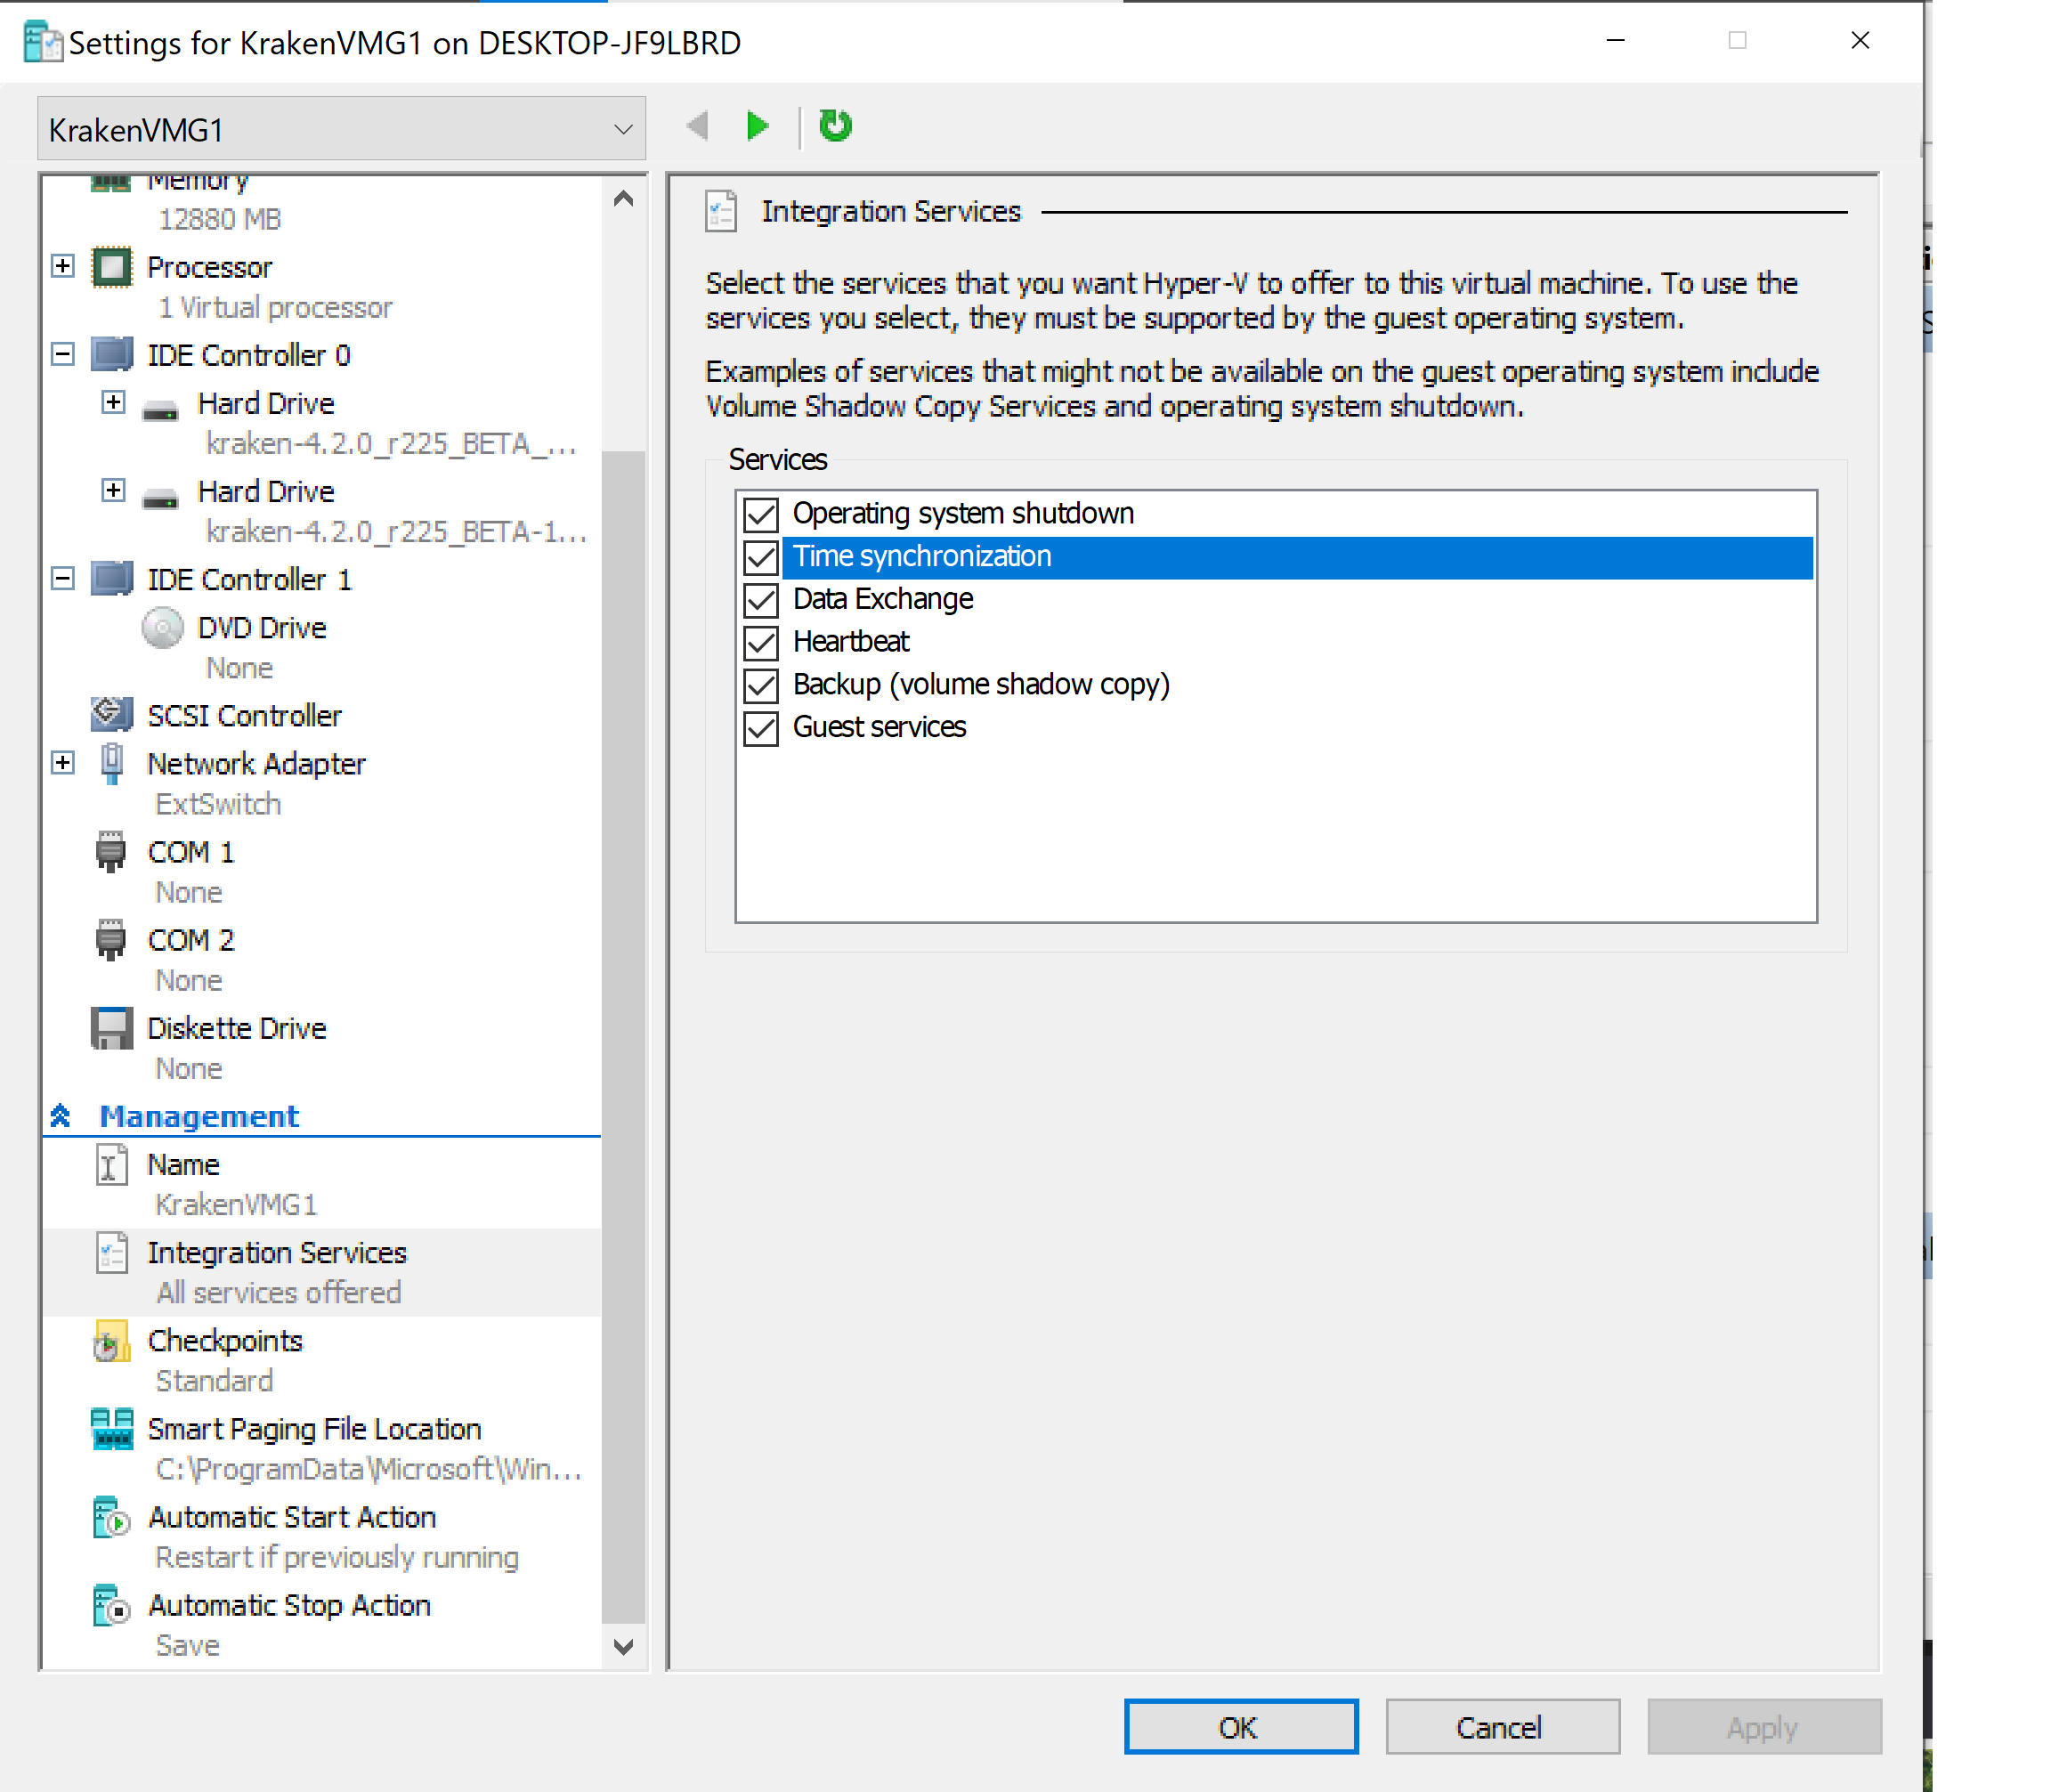
If chronyd reports no source and time tracking, then Hyper-V host-to-guest time sync would take effect.
Continue to Signing in to Your Hyper-V VM.
For more details on using the Console UI, refer to Using the Console UI with Haivision Hardware.